
How to Produce Canvases From Plywood
transforming plywood into a canvas grade surface for painting
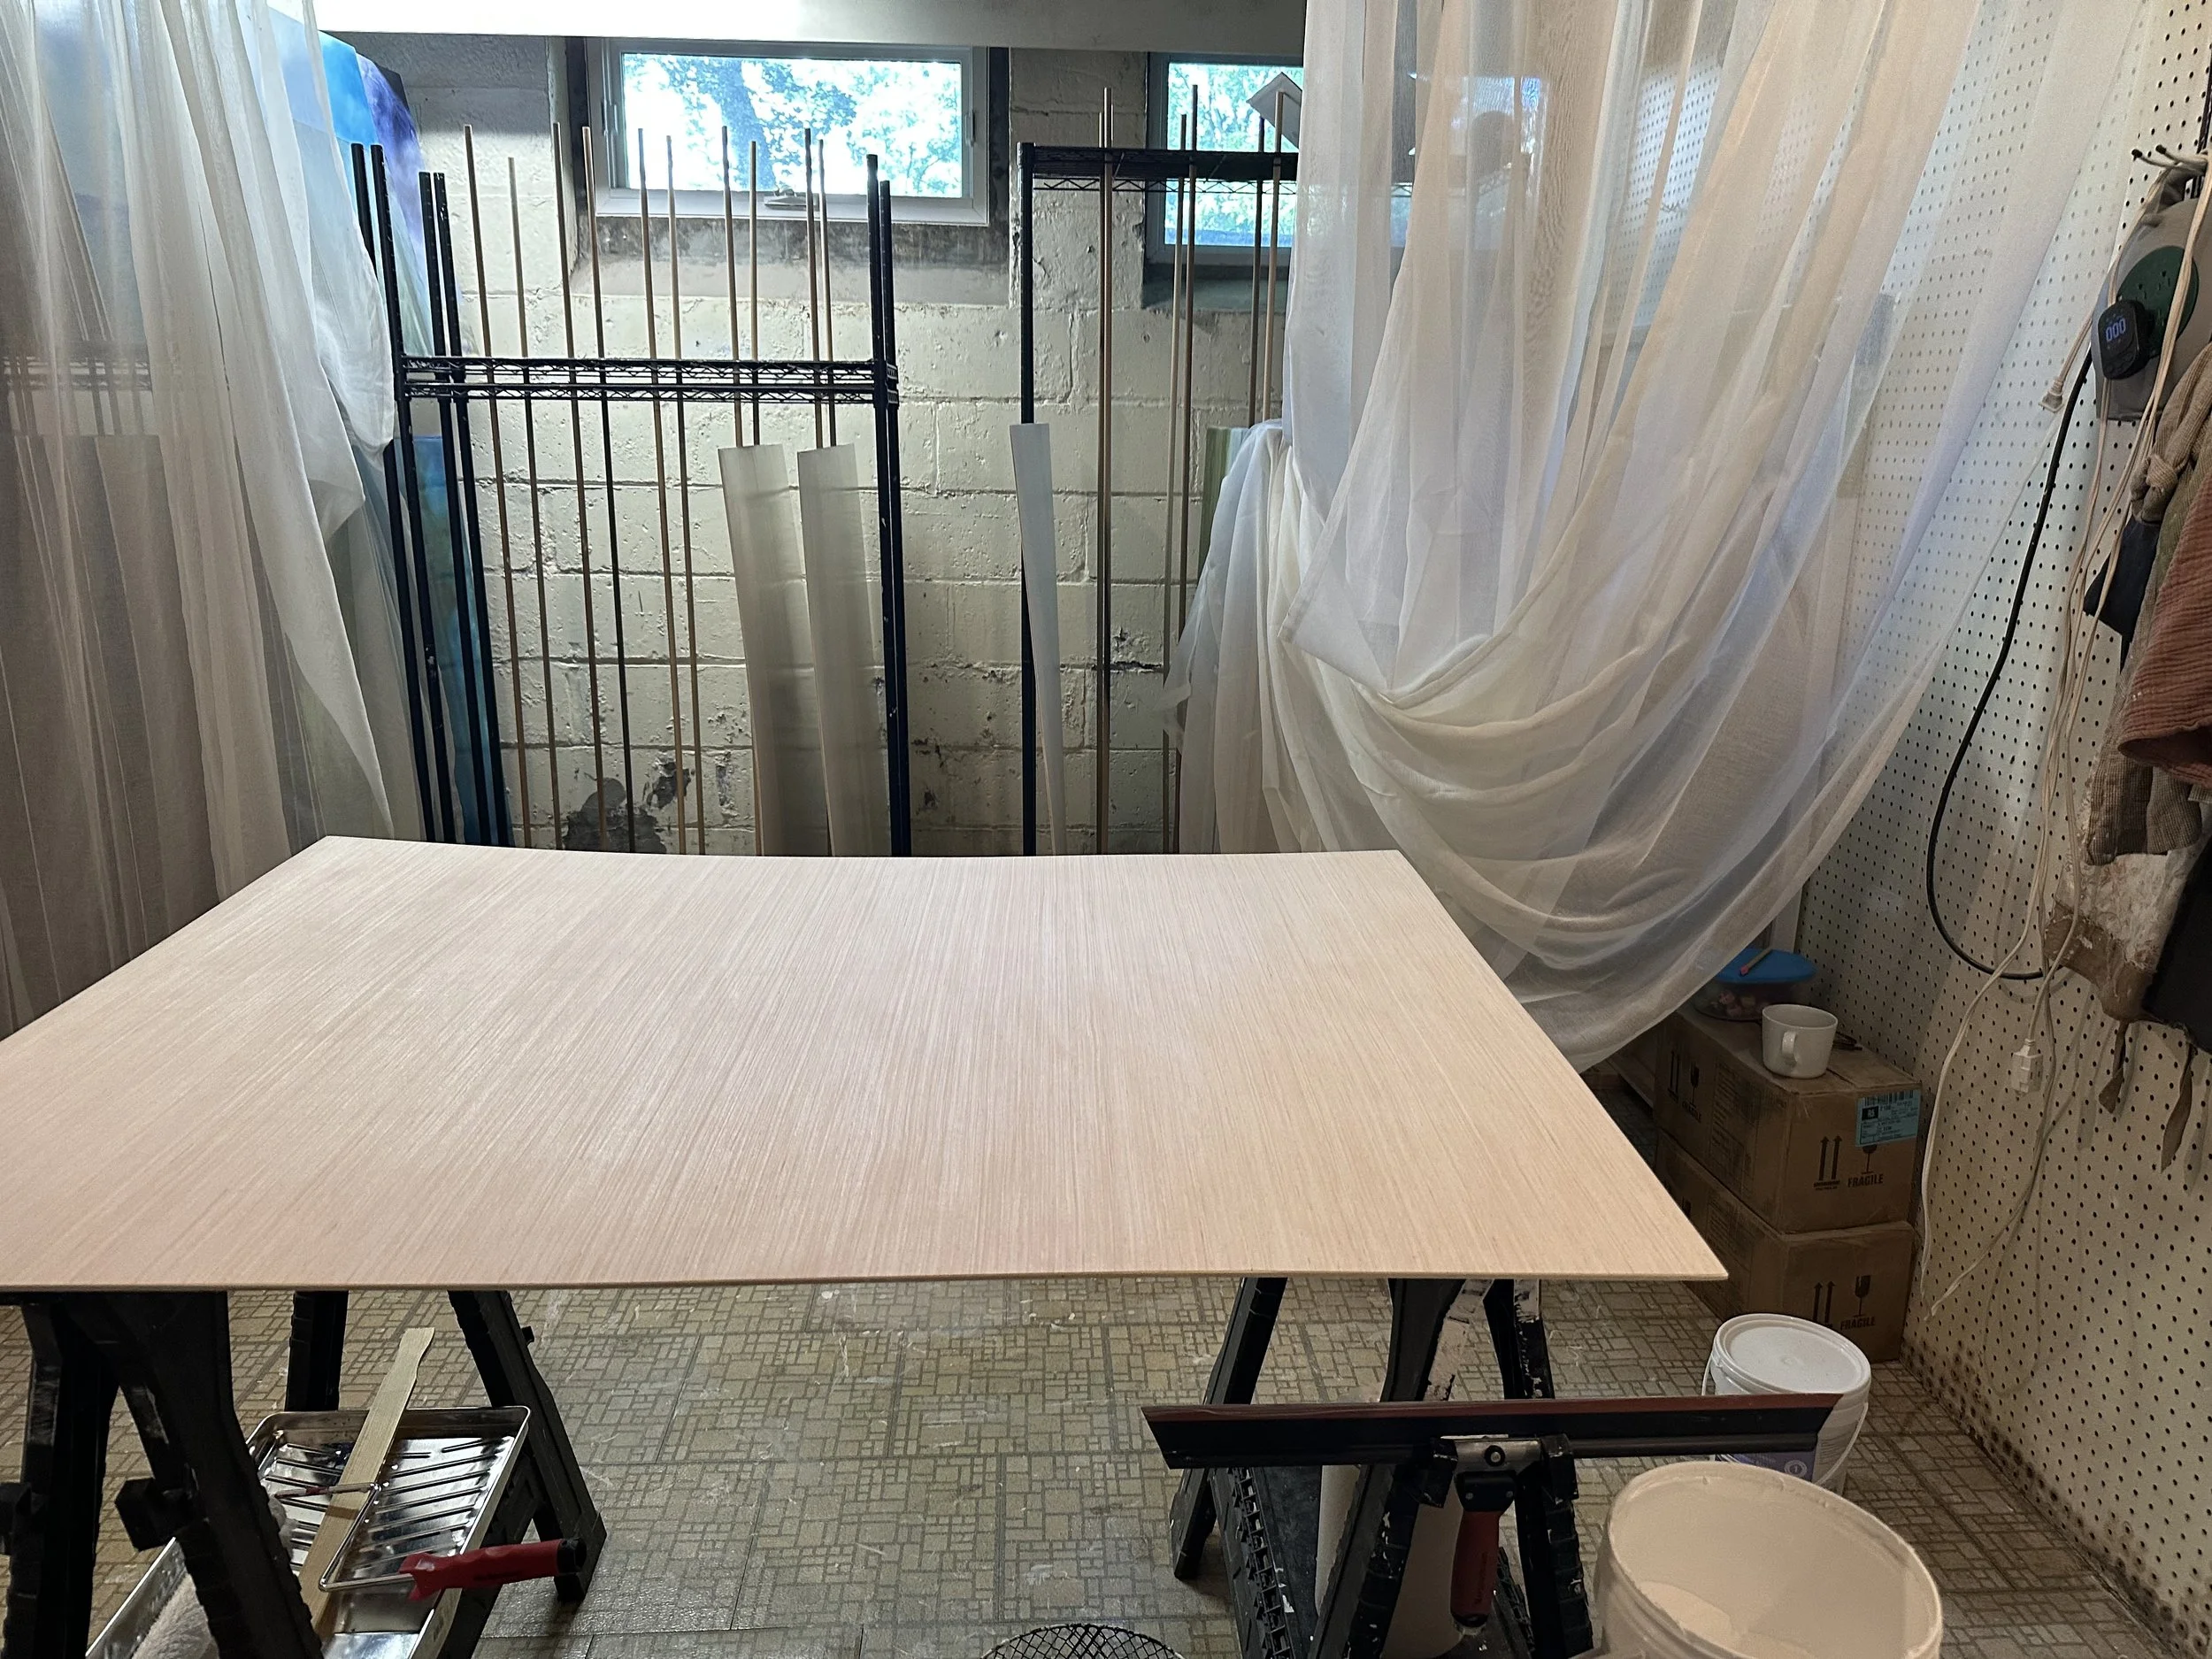


My preference for painting on wood panels has led me to develop a systematic method for transforming bare plywood panels into reliable and durable painting surfaces. When selecting plywood for painting, I prioritize the quality of the wood and whether it is hardwood or softwood. Additionally, I look for plywood that is sustainably sourced. The side intended for painting (Side A) should have a smooth, knot-free surface, free of gouges or seams. This side should be of high quality, while the other side (Side B) can be slightly lower quality, potentially featuring areas that need to be filled with pliable wood filler. I inspect the edges of the plywood to ensure they are clean-cut and free of voids.
The thickness of the plywood panel is another crucial factor. A 1/4” plywood (5mm) is typically sufficient for my needs. The thickness and type of veneer will depend on your specific requirements and preferences. Regarding wood types, I prefer hardwoods; pine is too soft and is not suitable for my studio. Birch is an excellent option, as is any other hardwood of choice.
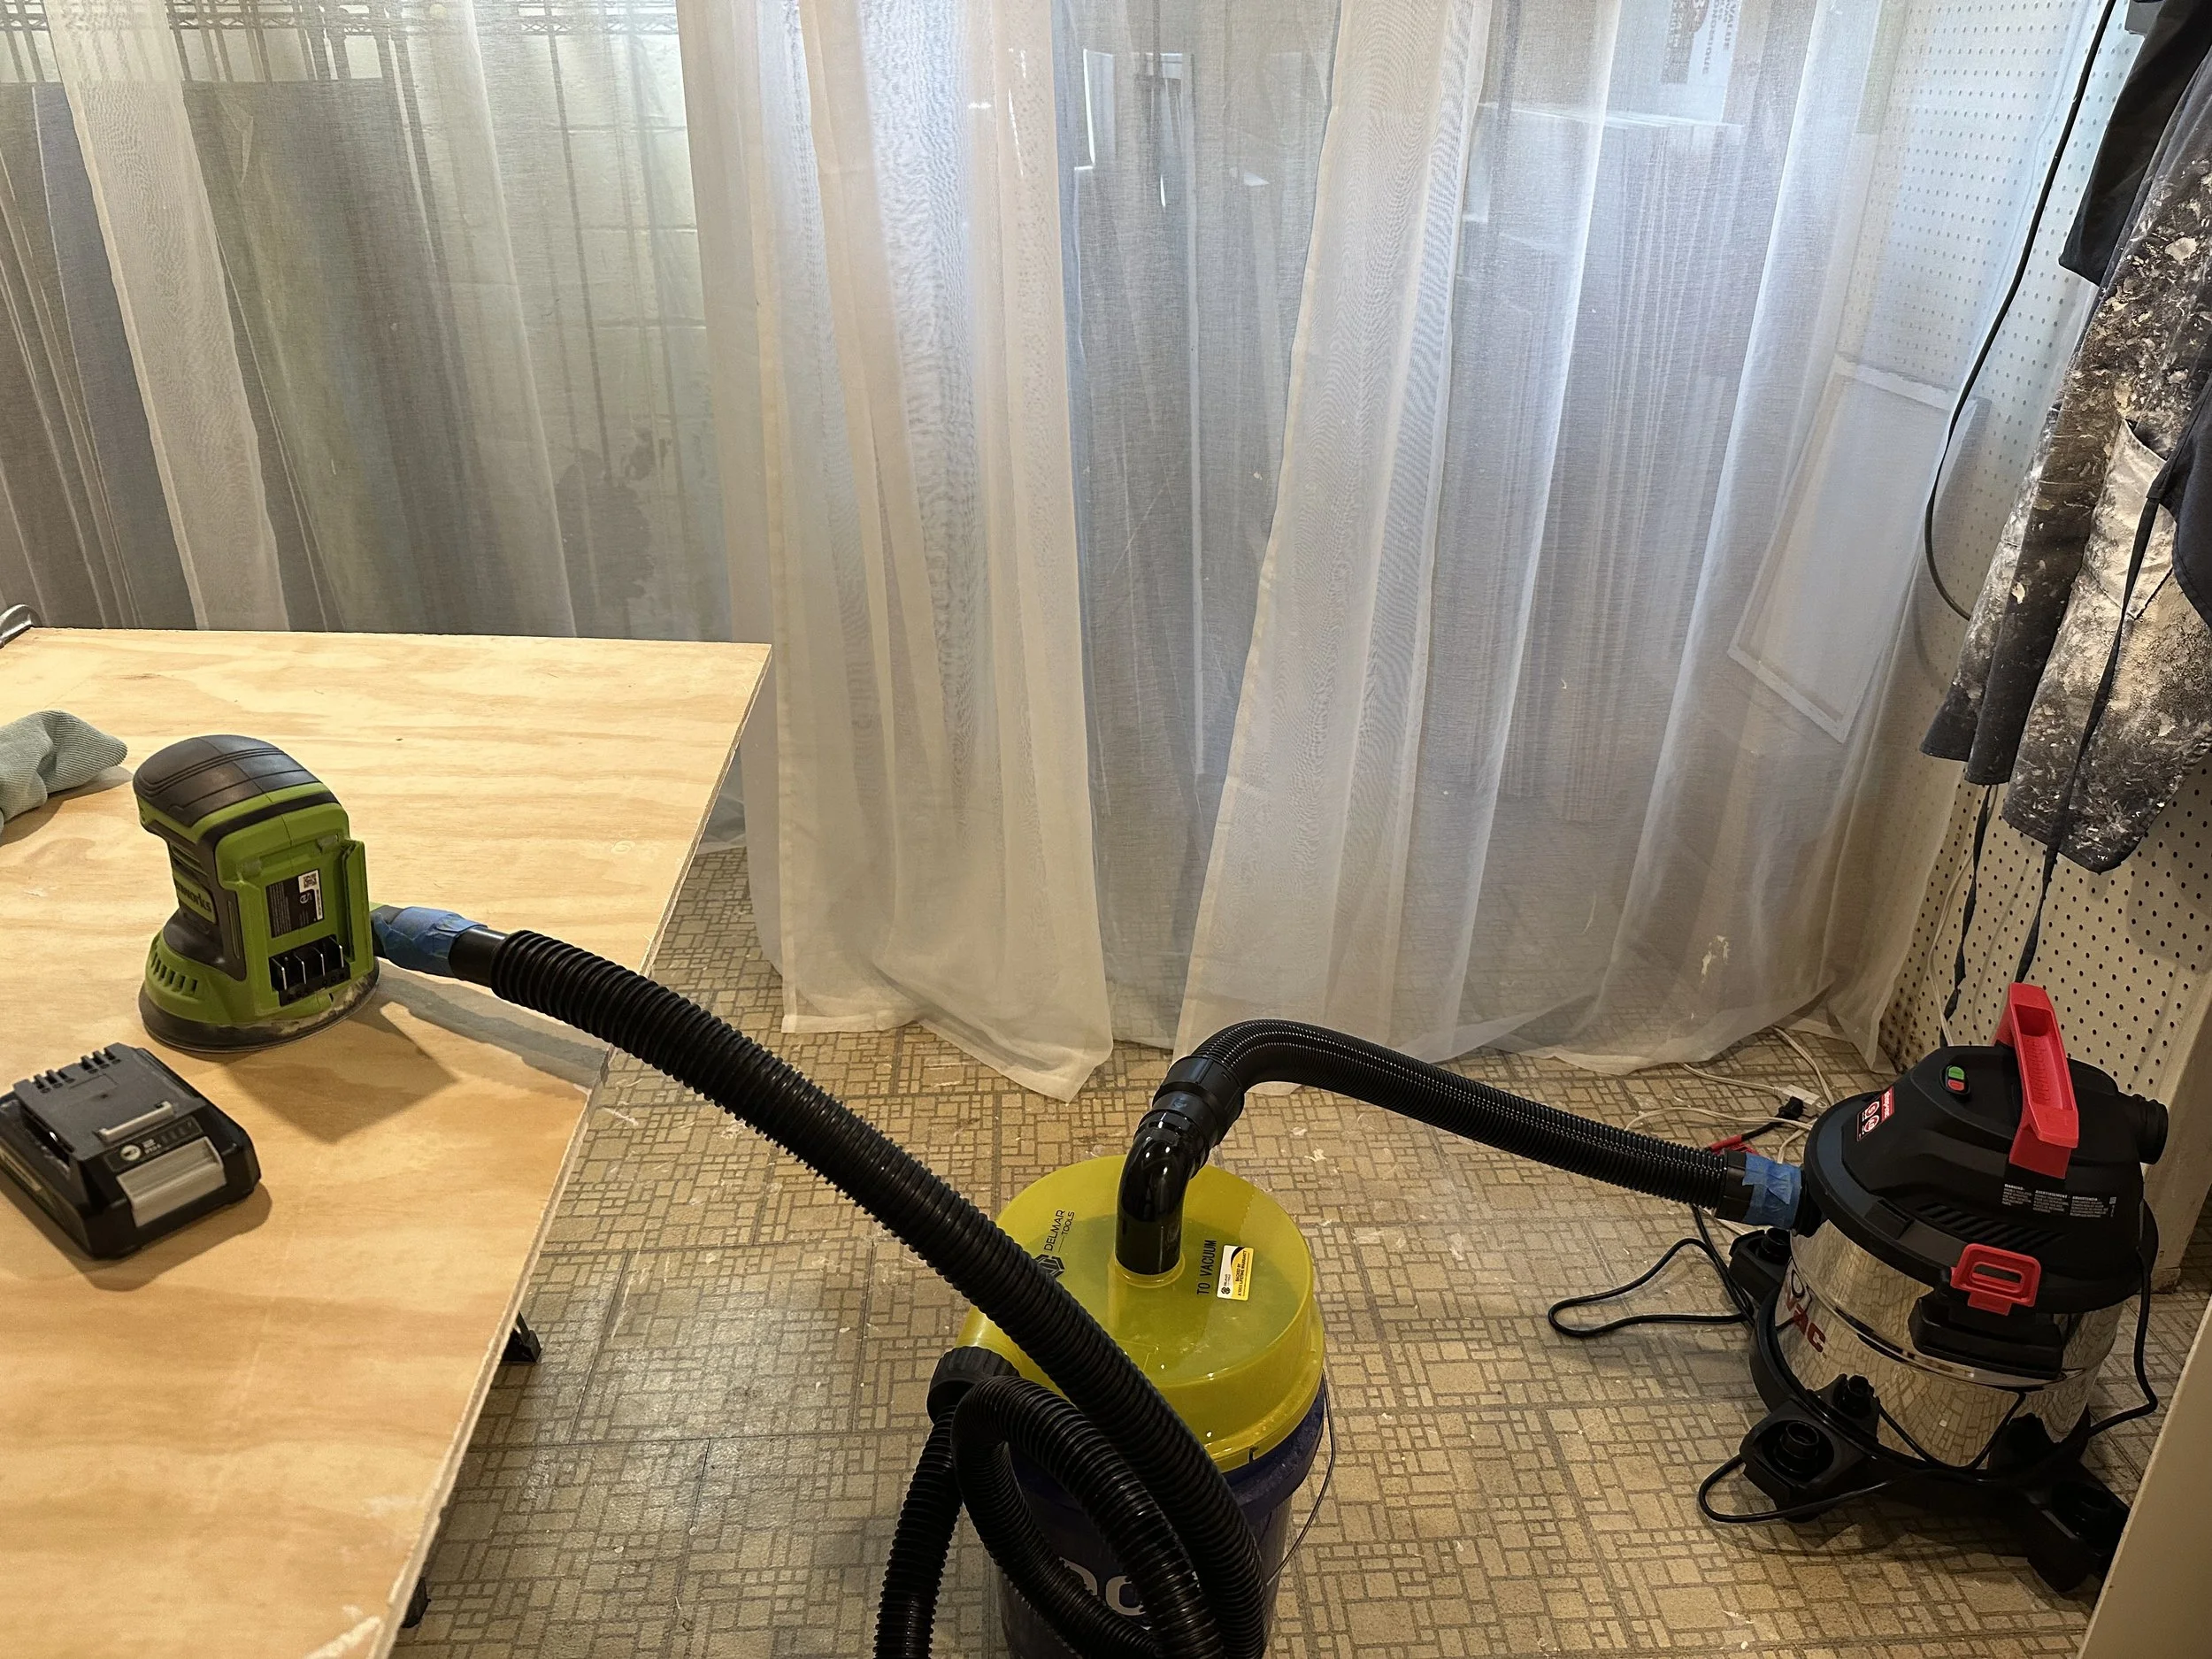
To achieve a smooth and knot-free surface on the plywood, I find thorough surface preparation essential. I first fill any gaps, knots, or voids with wood filler to create a seamless surface. Subsequently, I sand the plywood with a 240 grit sandpaper to remove any imperfections, rough spots, or mill marks. I use a cordless random orbital 5” sander with a vacuum adaptor connected to my Shop Vac with a dust separator.
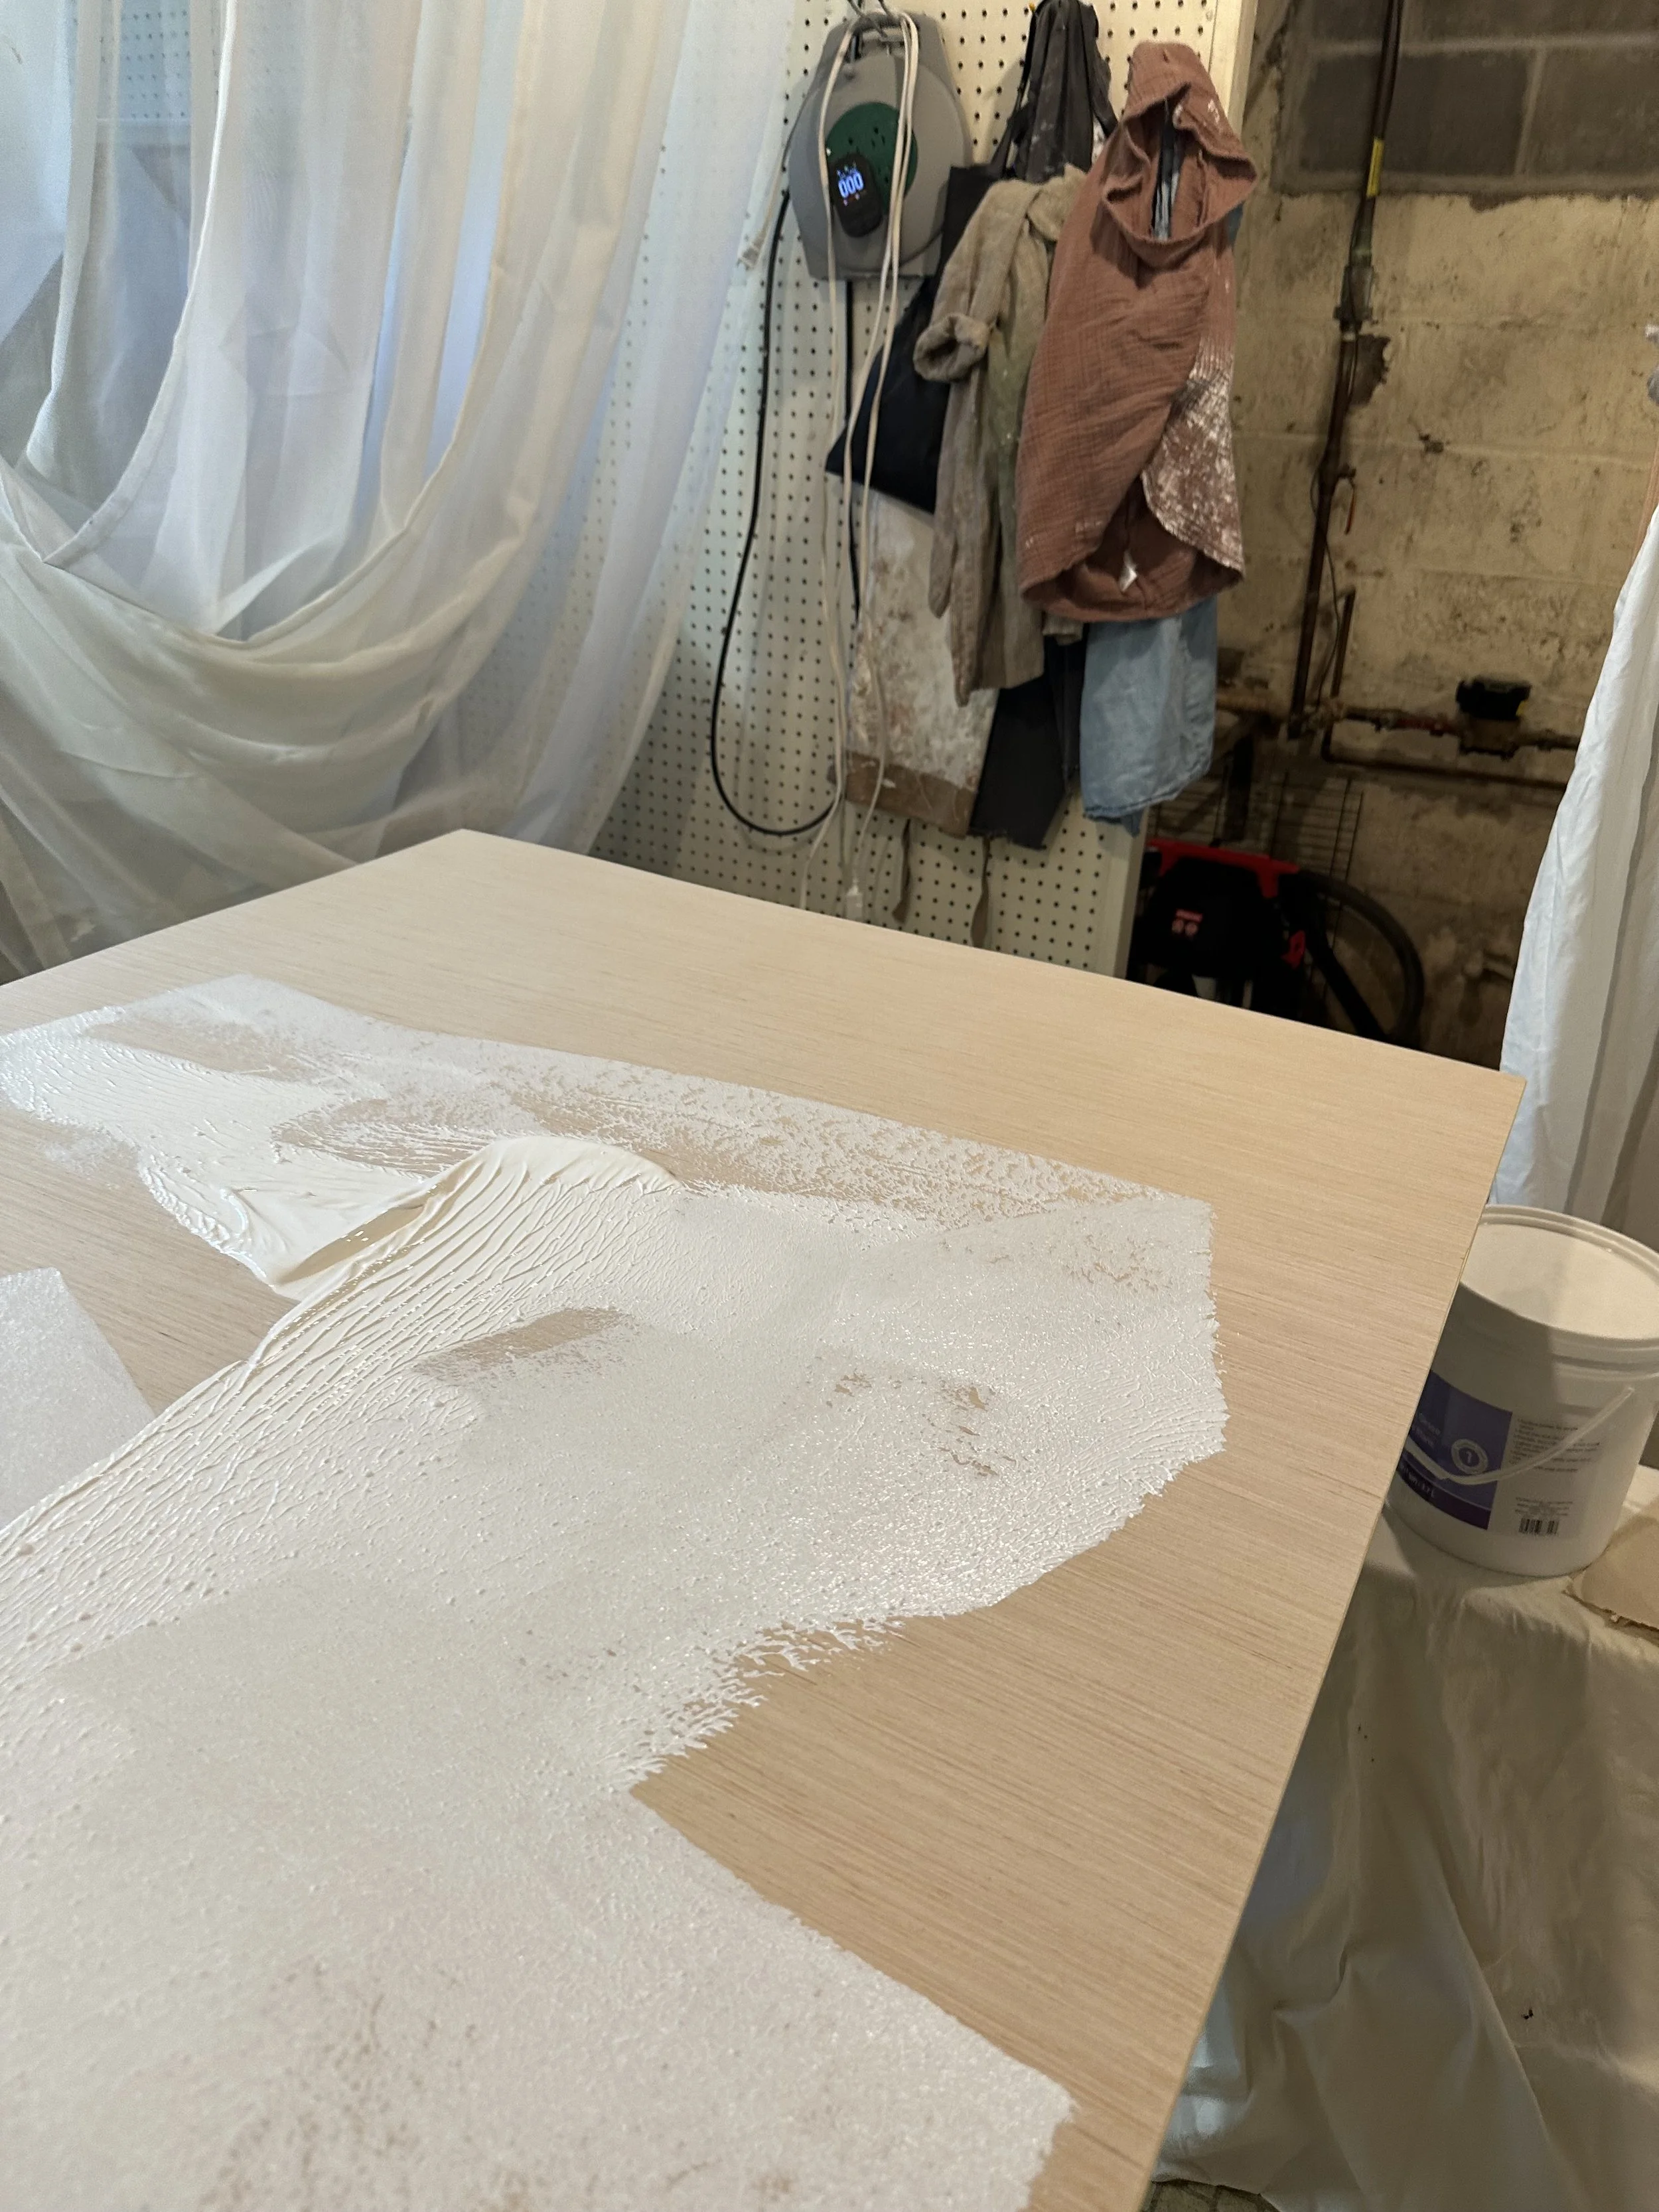
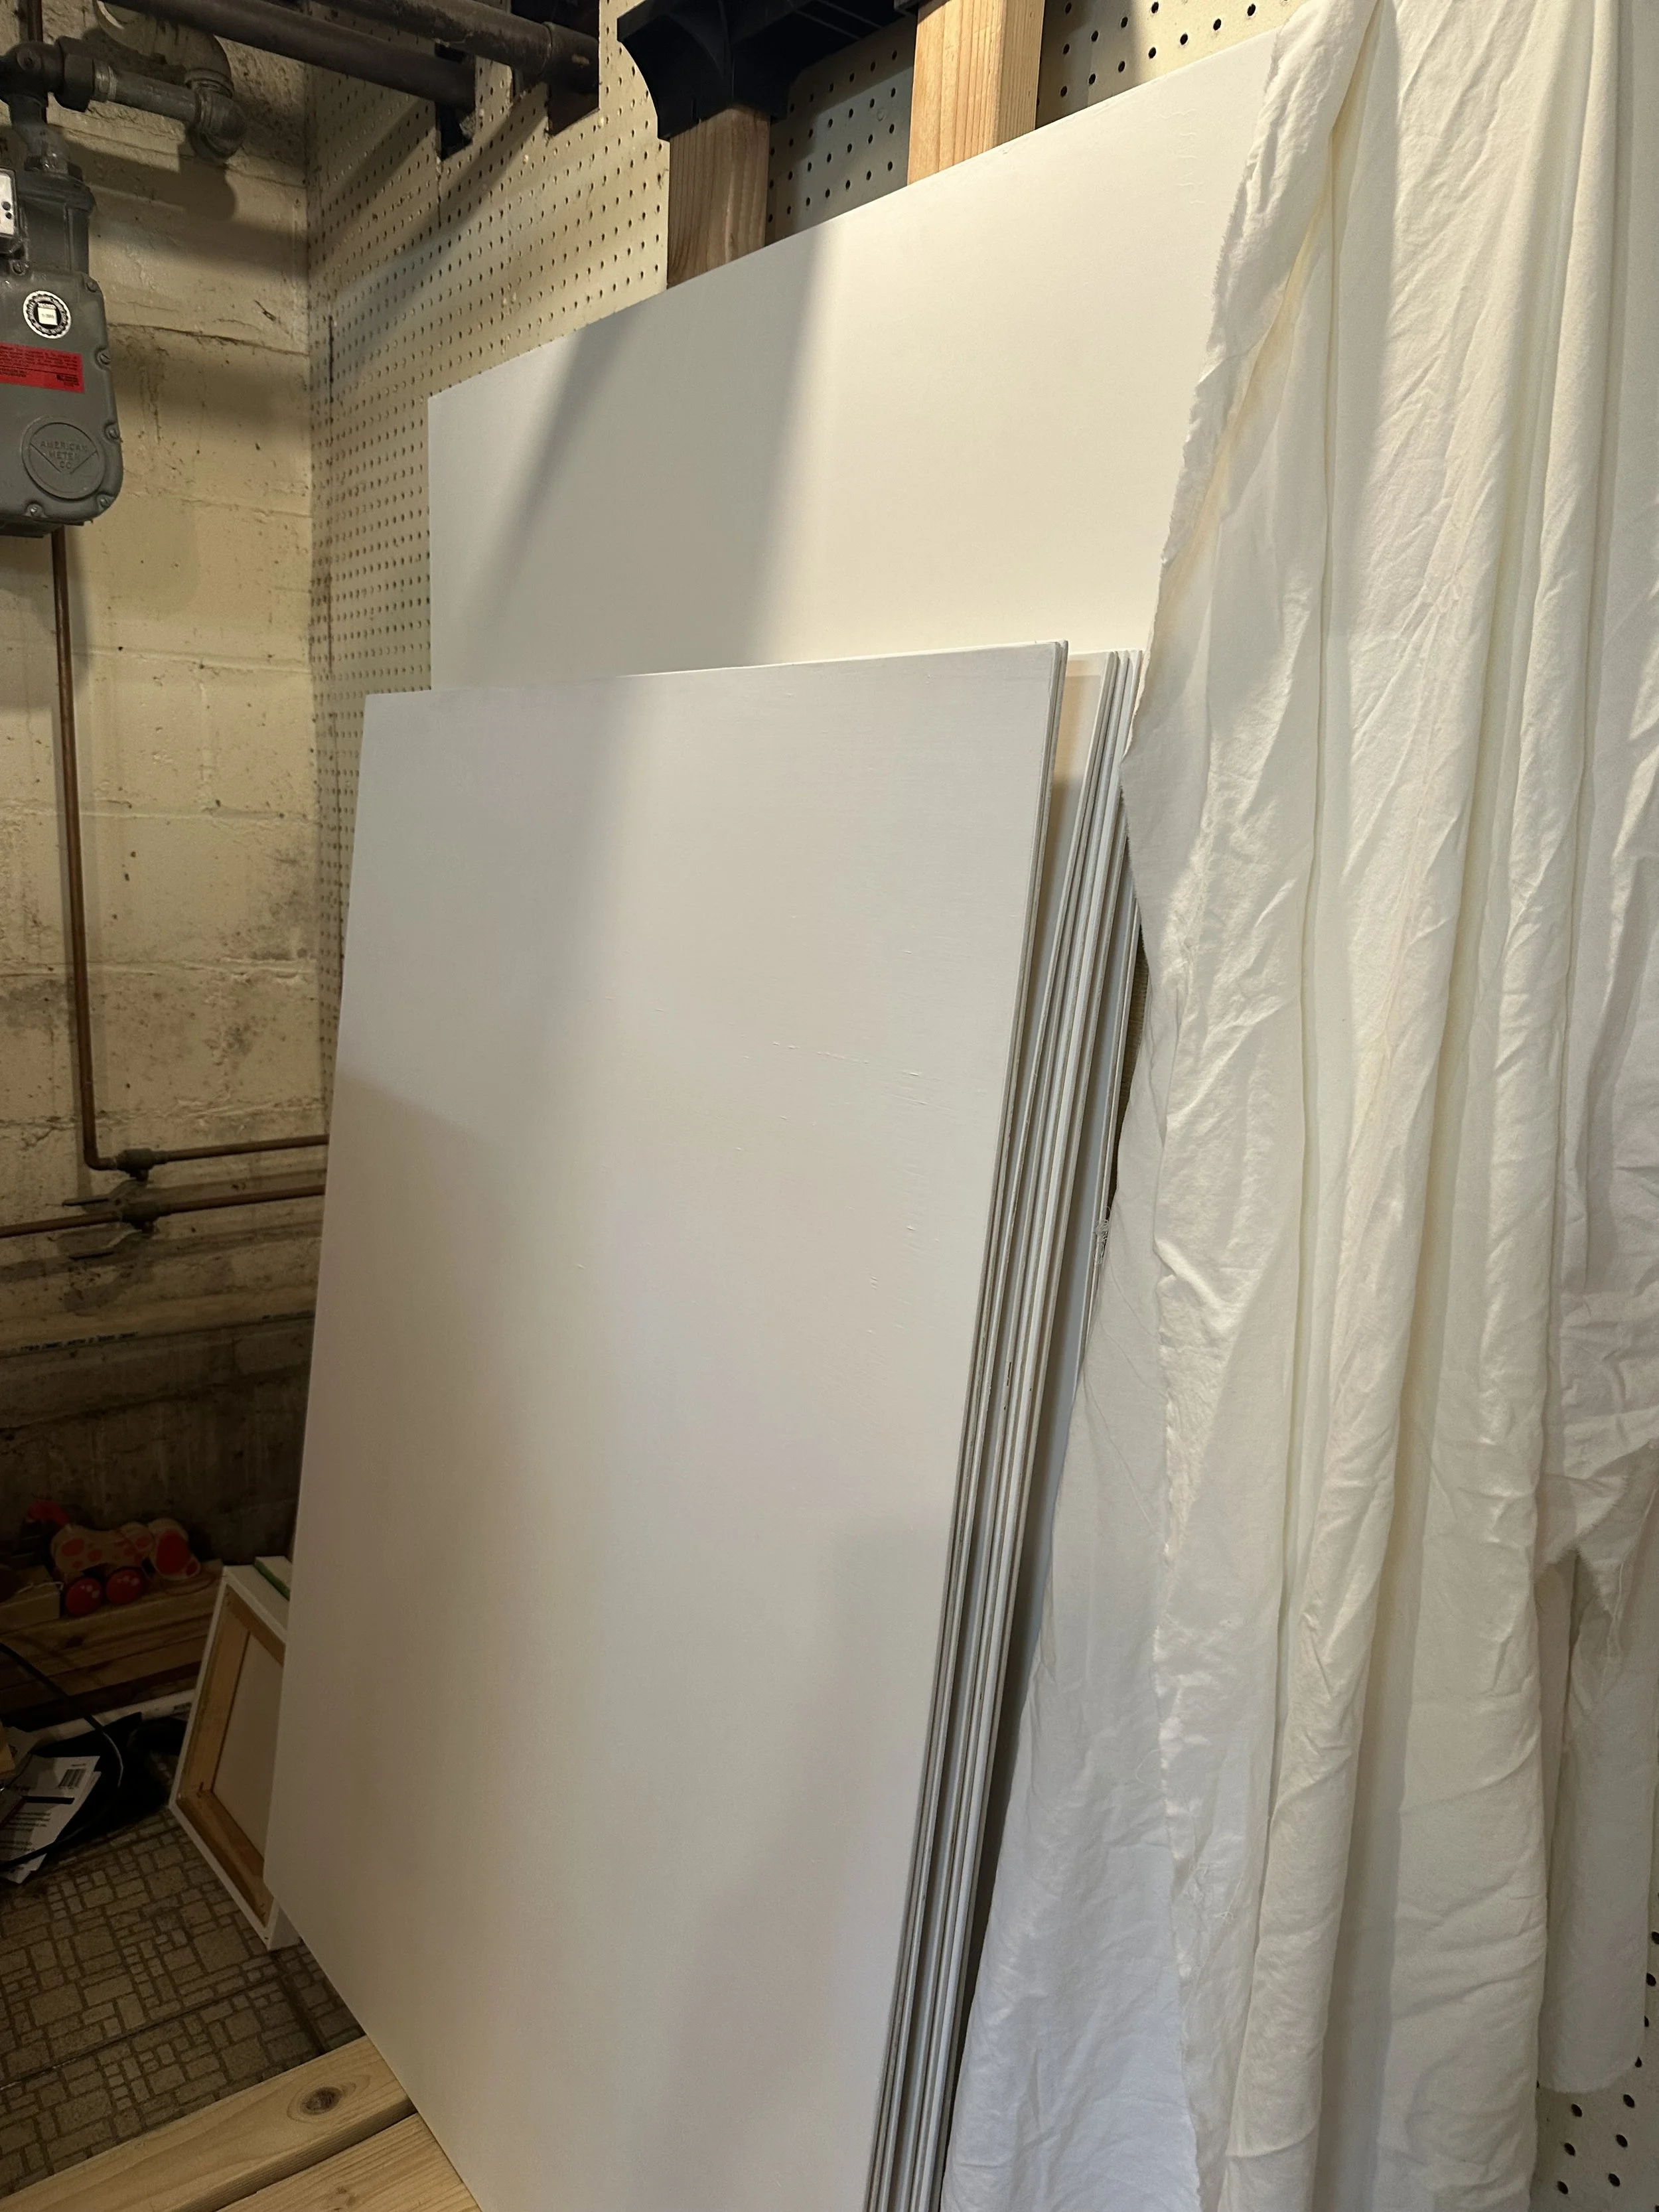
Once all the surface preparation of the wood is complete, I utilize a standard acrylic gesso for priming my painting surface. Three coats of gesso yields the desired surface. A coat of acrylic gesso dries relatively quickly, usually within an hour or two. I frequently prime ten or more panels simultaneously and allow them to dry overnight. Once dry I store my primed panels and canvases in a dry spot.